We all love the convenience of a toaster. Morning toast, reheated bagels, or a quick slice of garlic bread—it’s a kitchen hero. But here’s the thing: your toaster can secretly be a fire hazard if it’s not cleaned properly. Those crumbs you think are harmless? They’re actually potential tinder for a dangerous kitchen fire. Don’t panic—it’s not hard to keep your toaster clean. You just need the right approach.
Why Cleaning Your Toaster Matters
Most people don’t think twice about the crumbs lurking inside their toaster. Over time, these crumbs can accumulate, get stuck, and even burn when the toaster is on. Burnt crumbs not only affect the taste of your breakfast but also increase the risk of smoke or fire. And let’s be honest—nobody wants a mini fire drill every time they make toast.
Plus, a dirty toaster can affect its performance. Burnt crumbs and grease buildup can make heating uneven, leaving you with slices that are scorched in some spots and barely warm in others. Cleaning your toaster isn’t just about safety—it’s about better toast too.
Step 1: Unplug First
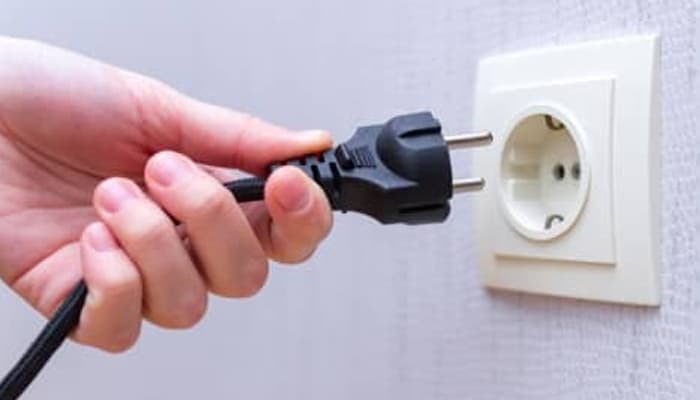
This might sound obvious, but it’s worth stating: always unplug your toaster before cleaning it. Even if it’s off, there’s still a risk of electric shock. Safety first—especially when you’re dealing with metal and crumbs.
Step 2: Shake Out the Crumbs
Most toasters have a removable crumb tray. Slide it out and dump the crumbs into the trash. If your toaster doesn’t have a tray, turn it upside down over the sink or trash can and gently shake it. Tap it lightly to dislodge anything stuck inside. Use a soft brush or an old toothbrush to reach stubborn crumbs in the corners. Never use a metal object to scrape inside—it could damage the heating elements or cause an electric shock.
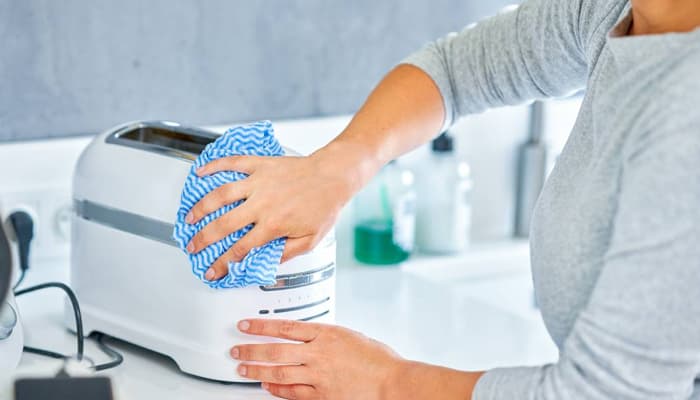
Step 3: Wipe the Exterior
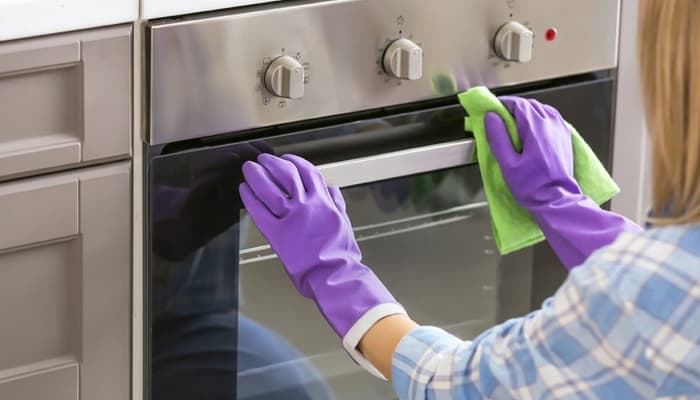
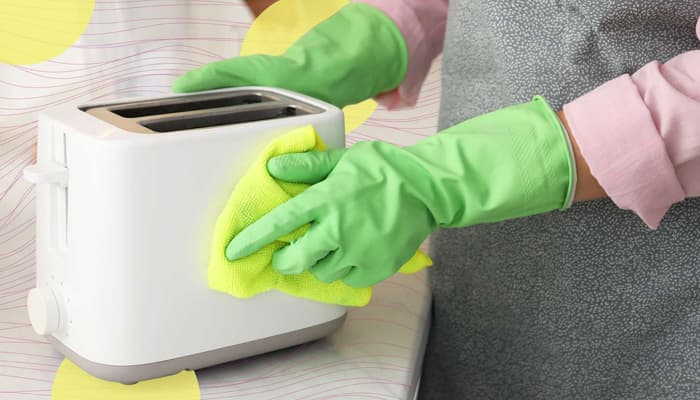
While the toaster’s inside is important, don’t forget the outside. Crumbs, grease, and fingerprints can build up on the exterior, making it look grimy and sometimes sticky. Use a damp cloth with a small amount of mild dish soap to wipe it down. Avoid getting water inside the toaster slots. Follow up with a dry cloth so no moisture remains.
Step 4: Deep Cleaning the Interior (If Needed)
If your toaster hasn’t been cleaned in a long time, or you notice burnt-on gunk, it may need a deeper clean. Here’s a safe way:
Unplug the toaster.
Use a soft brush (like a pastry brush) to gently sweep the wires and heating elements. Be careful not to bend or break anything.
For really stubborn spots, slightly dampen a cloth or sponge with vinegar or mild soap solution, wring it out thoroughly, and gently wipe the accessible areas. Make sure nothing drips inside.
Never submerge your toaster in water—this will destroy it and create a serious electrical hazard.
Step 5: Check for Safety Issues
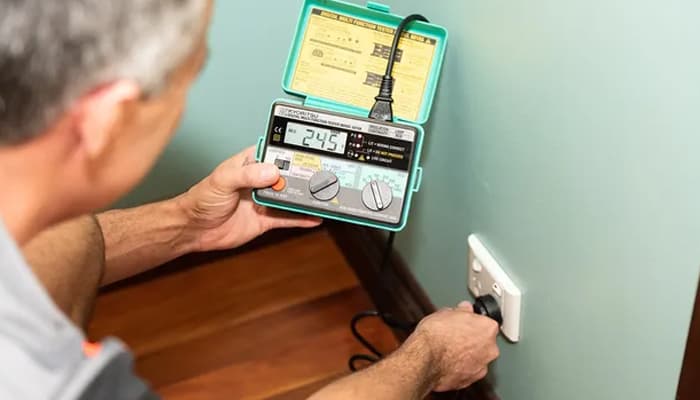
While you’re cleaning, it’s a good time to inspect your toaster for potential hazards. Look for frayed cords, bent or broken slots, or any unusual discoloration on the heating elements. If something looks off, it may be time to replace your toaster rather than risk a fire.
Step 6: Keep It Clean Regularly
The key to avoiding a fire hazard is consistency. Make cleaning your toaster a regular habit—ideally every week or two, depending on how often you use it. A quick shake of the crumb tray and a wipe of the exterior takes just a minute or two, but it prevents dangerous buildup over time.
Step 7: Smart Usage Tips to Reduce Risk
Cleaning is important, but how you use your toaster also matters. Don’t stuff oversized slices of bread or thick bagels into slots—they can get stuck and start smoking. Avoid letting cheese, butter, or other toppings melt inside. And never leave your toaster unattended while it’s on.
When to Replace Your Toaster
Even with proper cleaning, toasters don’t last forever. If you notice uneven toasting, strange smells, sparks, or smoke even after cleaning, it’s safer to retire it. Modern toasters are inexpensive compared to the potential cost—or danger—of a kitchen fire.
Final Thoughts
A toaster is one of those small appliances we take for granted—until it causes problems. But keeping it clean is simple and quick, and it makes your breakfast routine safer and more enjoyable. Remember: unplug first, shake out crumbs, wipe the exterior, and inspect regularly. Treat your toaster well, and it will reward you with perfectly golden toast, minus the smoke alarm drama.
Your morning toast should energize you, not put your home at risk. With a few minutes of care each week, your toaster can stay clean, safe, and deliciously reliable.